You will need punches: Large circle scallop, small circle scallop, medium oval & small oval. I used the stamp sets Polka Dot Punches and Fundamental Phrases with Basic Black ink.
 |
| The gray punch is the new punch style by Stampin' Up. It "closes" to help with storage. |
You will need paper: Designer Paper 4x12 (double sided print). Basic Black 4 1/4x 4 1/4, and 3 1/2 x 3 1/4. Very Vanilla 3 x 3 1/4
Score the designer paper at 4" from each end
Use a bone folder to fold up the sides into a triangle, like this:
Adhere the flaps down with adhesive, so they can't open anymore.
Along the bottom edge, put just one strip of adhesive, to hold the triangle flap down, and to create a pocket to hold the note card
Use a wedge of a Stampin' Sponge to sponge the edges. Sponging gives a warmer depth to your projects, making them look more professional. To make the edges of my "book" paper look tea-stained, I used Creamy Caramel.
 |
| Always use a scrap paper underneath when you sponge. Start off the paper, and work in a circular motion onto the Designer Paper. This will keep the ink light |
 |
| Also sponge the edges of the inside Very Vanilla piece |
Adhere the black pieces to the paper. The smaller one to the sponged note card, and the larger one to the back of the designer paper.
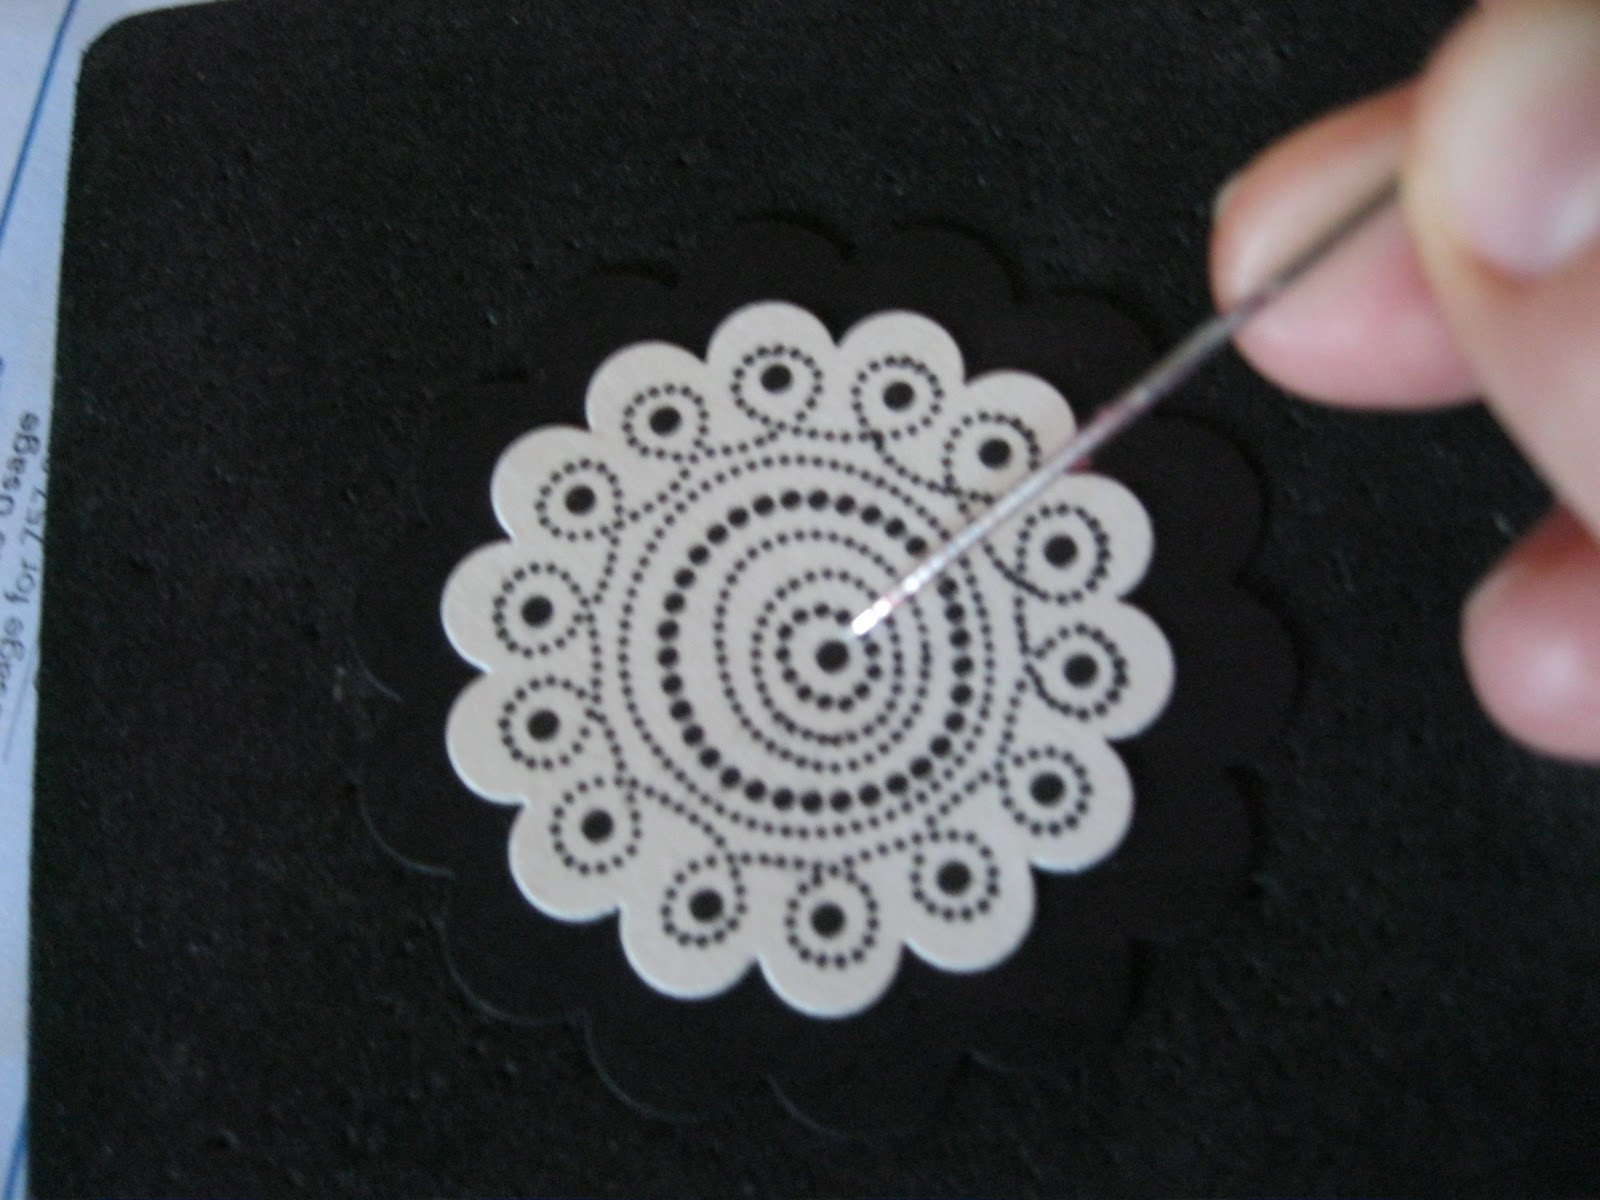
Adhere all your punched pieces together, and use your piercing tool and mat to make a hole in the center of the scallops for a Hodgepodge Hardware brad.
Use Stampin' Dimensionals on only half of the scallop circle...you want to be able to open the card!
Position and stick down your punched shaped. The "For You" is adhered with regular adhesive, the scallop circle with dimensionals (this is only because the back of the brad will not allow it to lay flat - if you are not using a brad in your design, you can adhere it normally ie: flat)
All done!! The only difference between the one I made yesterday, and this one, is the color of the brad in the center of the scallop circle. One is silver, one is very vanilla. And of course, the nature of the designer paper I chose makes them a little unique too...different sections of the "book pages". Love it!
Adorable and VERY quick and easy to do! Have fun!! - The inside is perfect for holding money, a gift card, or a picture!


No comments:
Post a Comment