Saturday, February 19, 2011

Tea Time!

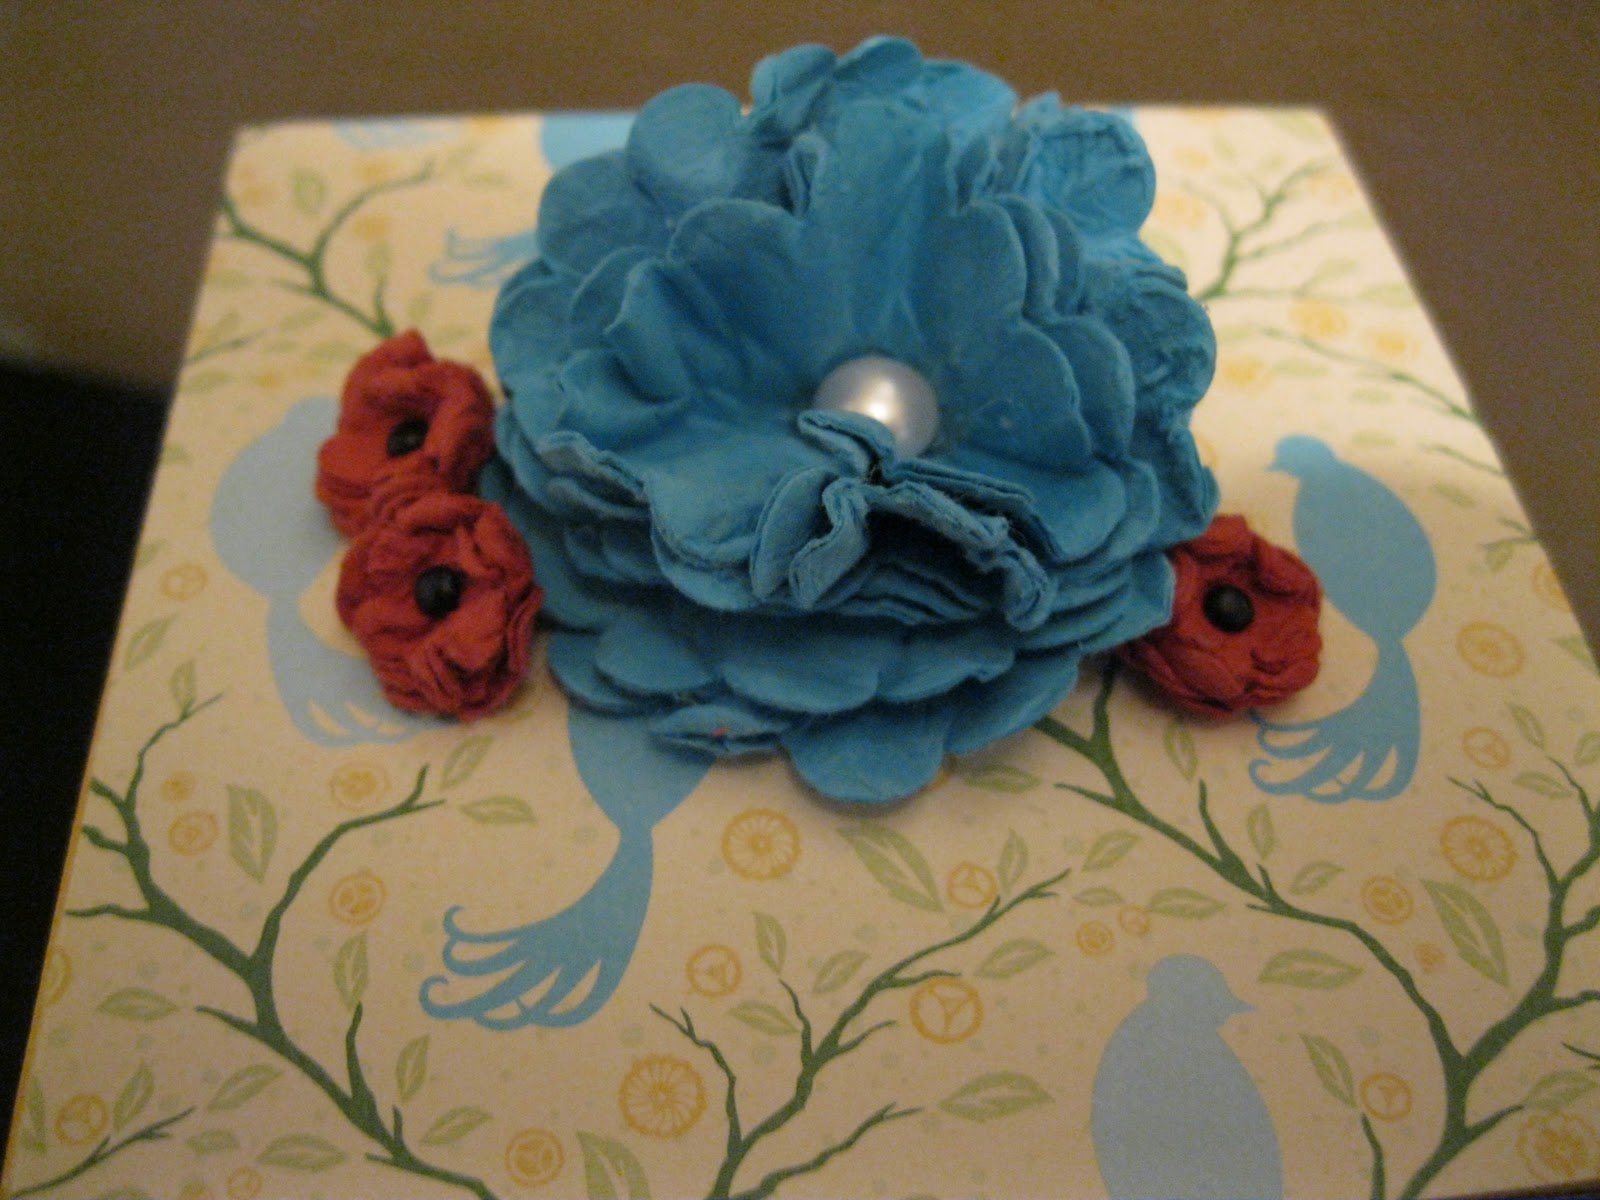
Look at this adorable little tea holder. Wouldn't this be a great gift for the tea lover in your life? I made this one for ME, and I picked the colors based on what would match my kitchen, since it will be out on the counter!

It's holding Earl Grey tea right now, one of my faves. It currently has 20 tea bags in it (a whole box), but could hold more!

Some little rosettes I made to decorate the top a little

I'm a little tea pot

Side view. Sooo cute!!!

Thursday, February 10, 2011

Valentines

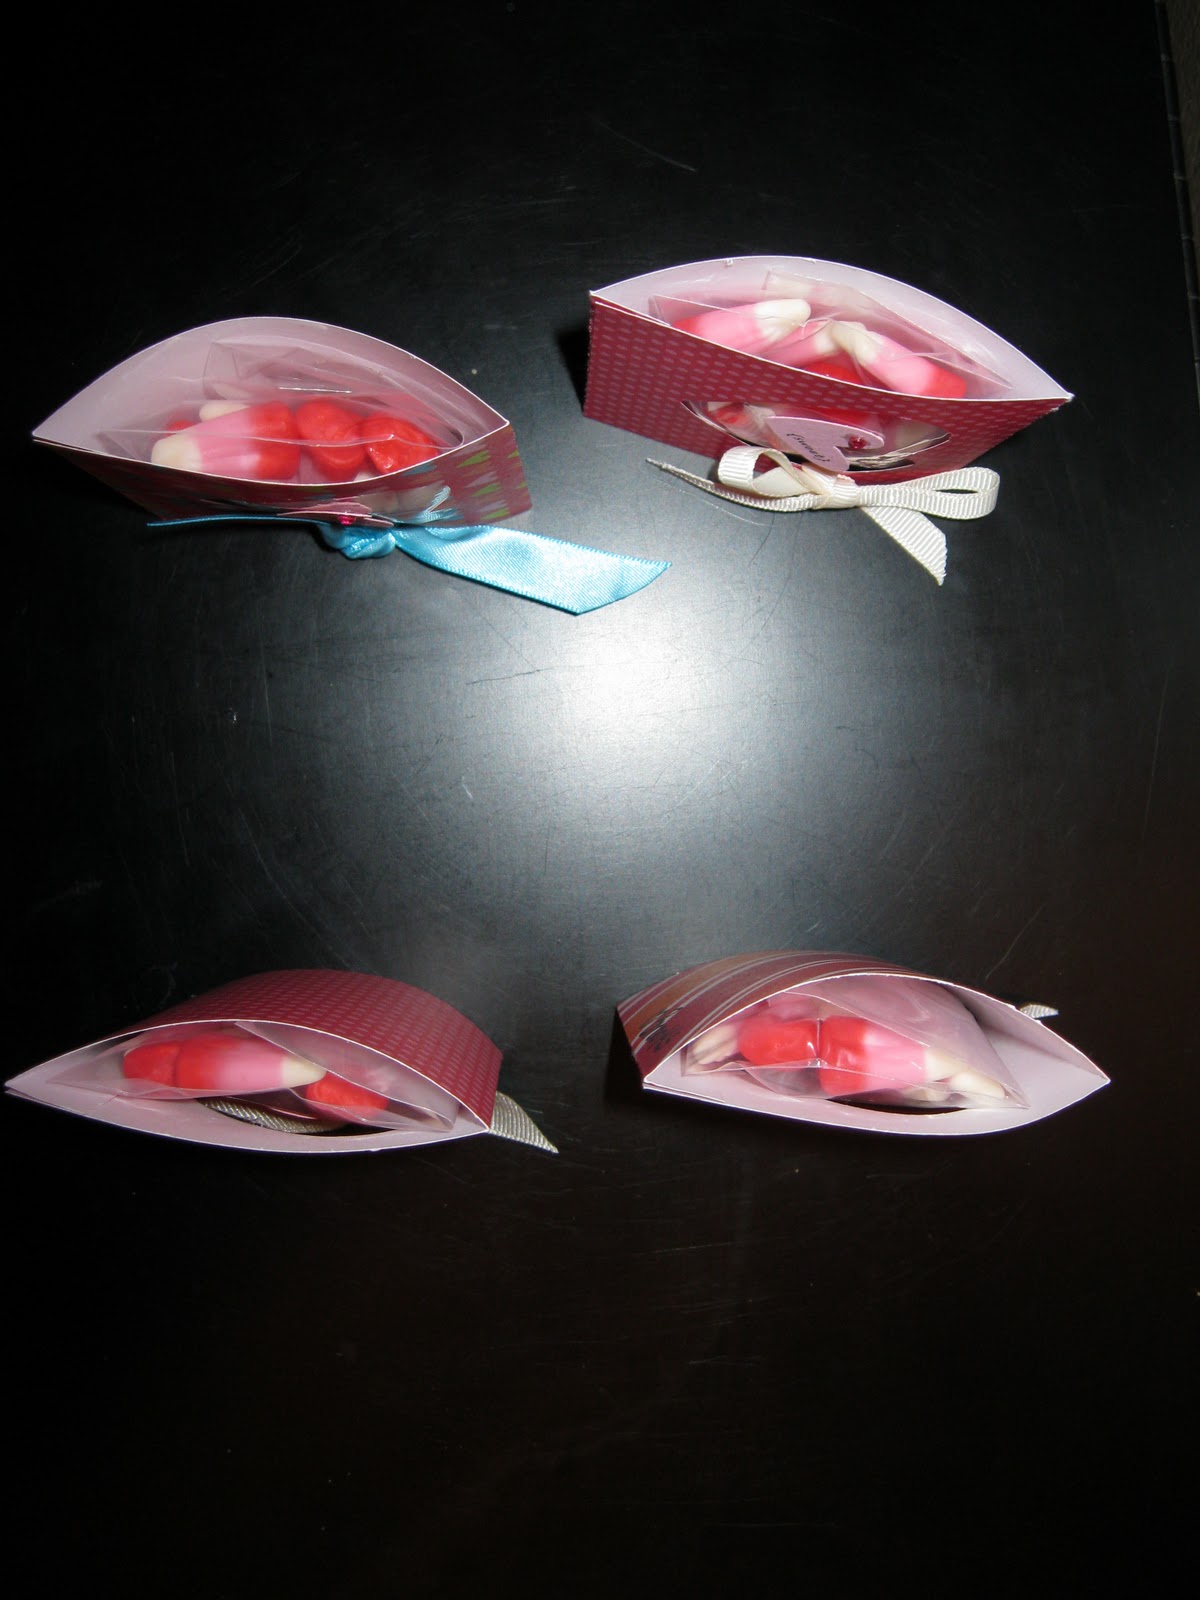
Prepare your candies! They could really be anything...I found a large bucket of Valentine candy corns for $2.50, and little lollypop baggies that were $2.50 for 50. They were the only things I had to buy, as I was just using up odds and ends of ribbon and paper that I already had! - Super cheap for all the 30-something Valentines I had to make!
I found that 15 candies fit nicely in the baggies without making them too puffy out the back when completely assembled

6.5 x 3 1/8. Score at 3/8 and 2 7/8 - put some sticky strip on the outer bottom little tab, and also in the middle center (inside, to hold the bag of candy in place. Cut or punch out a heart shape
Stick the candy bag to the middle inside, fold over and attach the little front flap to the underside of the front. and you're done!!
Or almost done. Punch out a smaller heart (mine has {sweet} stamped on it, and is embellished with a little pink gem). Adhere to candy bag with a mini glue dot (or two). Tie a ribbon to the side, and you're done!
I was using up odds and end of paper and ribbon, so none of mine are identical...but all super cute!!
See a side view? With the dimensions scored as they are, it gives a little more room in the back to expand with the candies in there. Love it!!

Wednesday, February 9, 2011

Apples Card

This is definitely not a 5 minute card, as all of those raised leaves are cut out by hand...but it was worth it. I love this one!! I've not stamped on any "greeting" yet, as it could go for lots of different occasions, so I will stamp it once I've determined who I'm giving it to, and for what. It's one of my favorites though, I just love it!

Thursday, February 3, 2011

Valentine Day Decoration

Hand print Art!! It says "These {hands} will hold my {heart} forever".

It was actually pretty easy to make! You could stamp your letters, print them out, or use die cuts (like I did). Ink up those little hands (if you only have one child, do both of their hands). Cut out a heart and decorate as you choose, really! I wanted to keep mine pretty simple, and I choose colors that would kinda match my livingroom, but also work for Valentines Day.


Monday, January 31, 2011

Star Album

Pictures of my Star Album! The album, when closed, is 5.5 x 4. The area of each page inside - to either hold a picture, or words...this would be a very sweet mothers day gift/card combo!!

Cover

Opening the album!

Another page!

Completely open, for display. Top view

Isn't it cute?

I love it!


Starting to close it, back into book format

Back cover

Friday, January 28, 2011

How To: Make a Photo Album

I decided to make my photo album to hold this years pictures. Last year, I made this one. It's very cute, and I just love it. I was looking for something different, but cool too...

My inspiration came from this album. I purchased this at Blacks (Canadian store), in 2002, for 15.99 I believe. It could have been 24.99. Anyway, it's a plain book with a textured paper cover, and full of plain black cardstock. I really like it because it's classy and simple.
Some inside shots of the album! This one is a 12x12.

So now to make my own!! I didn't want the front and back to be so plain. I decided on an 8x8 size, and had a bunch of pictures enlarged to that size. Then I covered the chipboard in black 80 lbs cardstock (from SU), and made my covers with the pics I wanted to use. I then covered the whole page in Mod Podge and let dry. This creates a very "painted" look that doesn't show up well in the pics, but it looks really cool in person.
Waiting for the Mod Podge to dry!
I used a template I made to get the holes right (and straight!), and then a Crop-a-dile to punch them out. It's bound with O-wires from Bind It All (purchased at a local scrapbooking store). I don't have the Bind It All machine, but you can do it the hard (long way), by punching out the holes by hand and then feeding the wires into the holes and clamping shut.
Front Cover!

Open album

Inside cover and first page. The inside cover is covered in mod podge, the first pic is not.

Another page in the album

Another page. Simple. I like it!

Back page and back inside cover

Back outside cover of album

I made this whole album, *including* the printing of all the pictures and enlargements for less than $20. Most of these items I already owned, but here is there approx cost.

Chipboard - 2 pcs of 8x8 = 1.00
All pictures and printing = 14.00 (at Costco)
Mod Podge - I used less than 1/4 of a jar costing 6.95 = 1.73
O-wires = 2.00
Paper = 2.00

Simple, cute, cheap...AWESOME. I love it!

Wednesday, January 19, 2011

How To: Use a Paper Trimmer

Are you confused by certain measurements when you see them? Having a good paper trimmer will help you, I promise. Always make sure you have the paper snug and straight against the top ruler portion to ensure accurate cuts.

Make sure you have a paper trimmer with an arm that swings out. It can cut 12 x 12 sheets of paper. Fiskars is the brand I would recommend, personally.
I'm making these pictures pretty big, so you can see the details I've added
Add caption
Some examples of measurements and where they are found.

Once you get familiar with your paper trimmer, it's very quick and easy to use. Don't let little-known measurements scare you!

Making your trimmer last forever - TIPS!
Buy replacement blades from Stampin' Up, Michaels, etc. When you cut paper and it burrs the edge a little, instead of a perfect crisp cut, it's time for a new blade.

After much use, my lettering/numbering etc on the main base of the board began to fade and wear off. I took a sheet of sticky rub on laminate (I happened to have had this on hand from years ago), and covered this area (the silver part), and them trimmed to precision with a hobby blade. The printing on the trimmer is now protected, and it should last forever!

I have marked popular cuts on my trimmer with a Sharpie. Right on the ruler part. I have a dot right at the 5.5 mark, which is the most common cut you'll make with homemade cards. It's easy for your eye to see that spot and you never accidentally cut it a 1/4" too small or large!