So I was just going to do it myself. Buuuut...I don't have a large chalkboard. I didn't really have the motivation to make one. And once I did - my handwriting stinks. How to get it looking really cool and picture worthy?
Then I noticed a big mirror we have yet to hang here at our new house. It was the right size, so I was brainstorming how to write on glass and not have it too reflect-y and stuff.
And then one day, as I was looking online for what kind of markers to use for writing on glass, a moment of clarity. Here are a few tips for the process of how to do this.
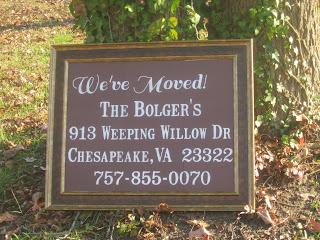 |
| We've moved! |
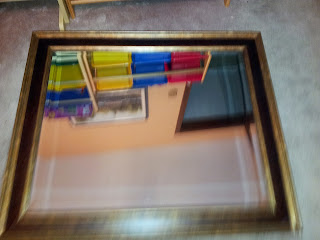 |
| This is our mirror - it's large and heavy! |
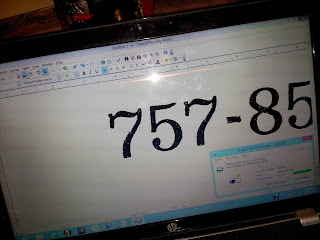
Then you choose your fonts and keep hitting the "view page" or "print preview" button, so you can see it all in one screen shot:-) You want to make sure your font size is large enough to fill the area you are covering. Then you print out tester versions. You may need to alter your printer settings, so it prints out "poster size" - for my size of project, it printed on 9 sheets of paper. Once I lined it up and everything looked good, I printed it on my "good" paper. I thought I would do black paper, but my black ink wasn't dark enough, or maybe my paper was really really black, but I couldn't really see the lines of the font well on the black, so I went with dark brown instead. You do need to be able to trace the fonts, so you have to be able to see it well enough to do that.
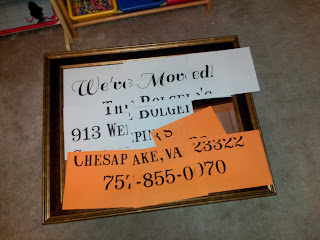 |
| Line it all up, adjust your font positioning in Word and re-print if necessary. You want to be sure it will line up properly when you print the real deal. |
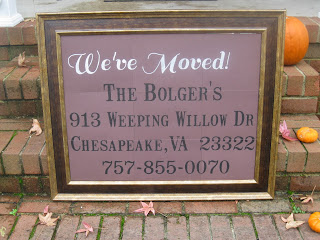 |
| Starting to colour it in! |



No comments:
Post a Comment