Saturday, April 30, 2011

Butterflies

I think it would be safe to say that Certainly Celery is my favorite color! I love it so much! This is a card I cased from the Paper Crafters Library. Isn't it gorgeous?
A close up of those little butterflies. Sooooo cute. It's one of my favorite cards, and would look so great in so many color combos wouldn't it?

Long Side, Short Side - Video

Check out this little explanation to help you with the "long side, short side"...it will help you save paper with fewer mistakes, I hope!

Sorry for trying to do everything with only one hand, I had to hold the camera!

Saturday, April 23, 2011

Gift Card Tin

It's been awhile since I've had some crafting time! I'm itching to get back at it! This past week I was "forced" to make a little gift card holder. Can't give a gift card in the plan ol' paper holder they give you in the store...well you can but it's just so boring by comparison!
The front. For little baby Ronin
The inside holding the gift card and reciept

"It's a boy!" hidden back there.
I was very happy with the result, seeing as I pulled it out of my brain in less than 30 mins!

Monday, April 4, 2011

Embossed Tin

To fill a cute little frame I already had...
"B" is for our last name!
I had a sheet of tin from Michaels, and I didn't really know what to do with it. Brilliance! It embosses in the Big Shot! Cute, right?
I really love it, and so does my husband. Perhaps the manly element of tin makes it appealing, even with flowers:-) A very cute and display worthy decoration. Created in waaaaay less than 30 minutes too!

While I had my crafting stuff out, time to make a slider album for my little niece Vienna! It turned out really cute!

Tuesday, March 22, 2011

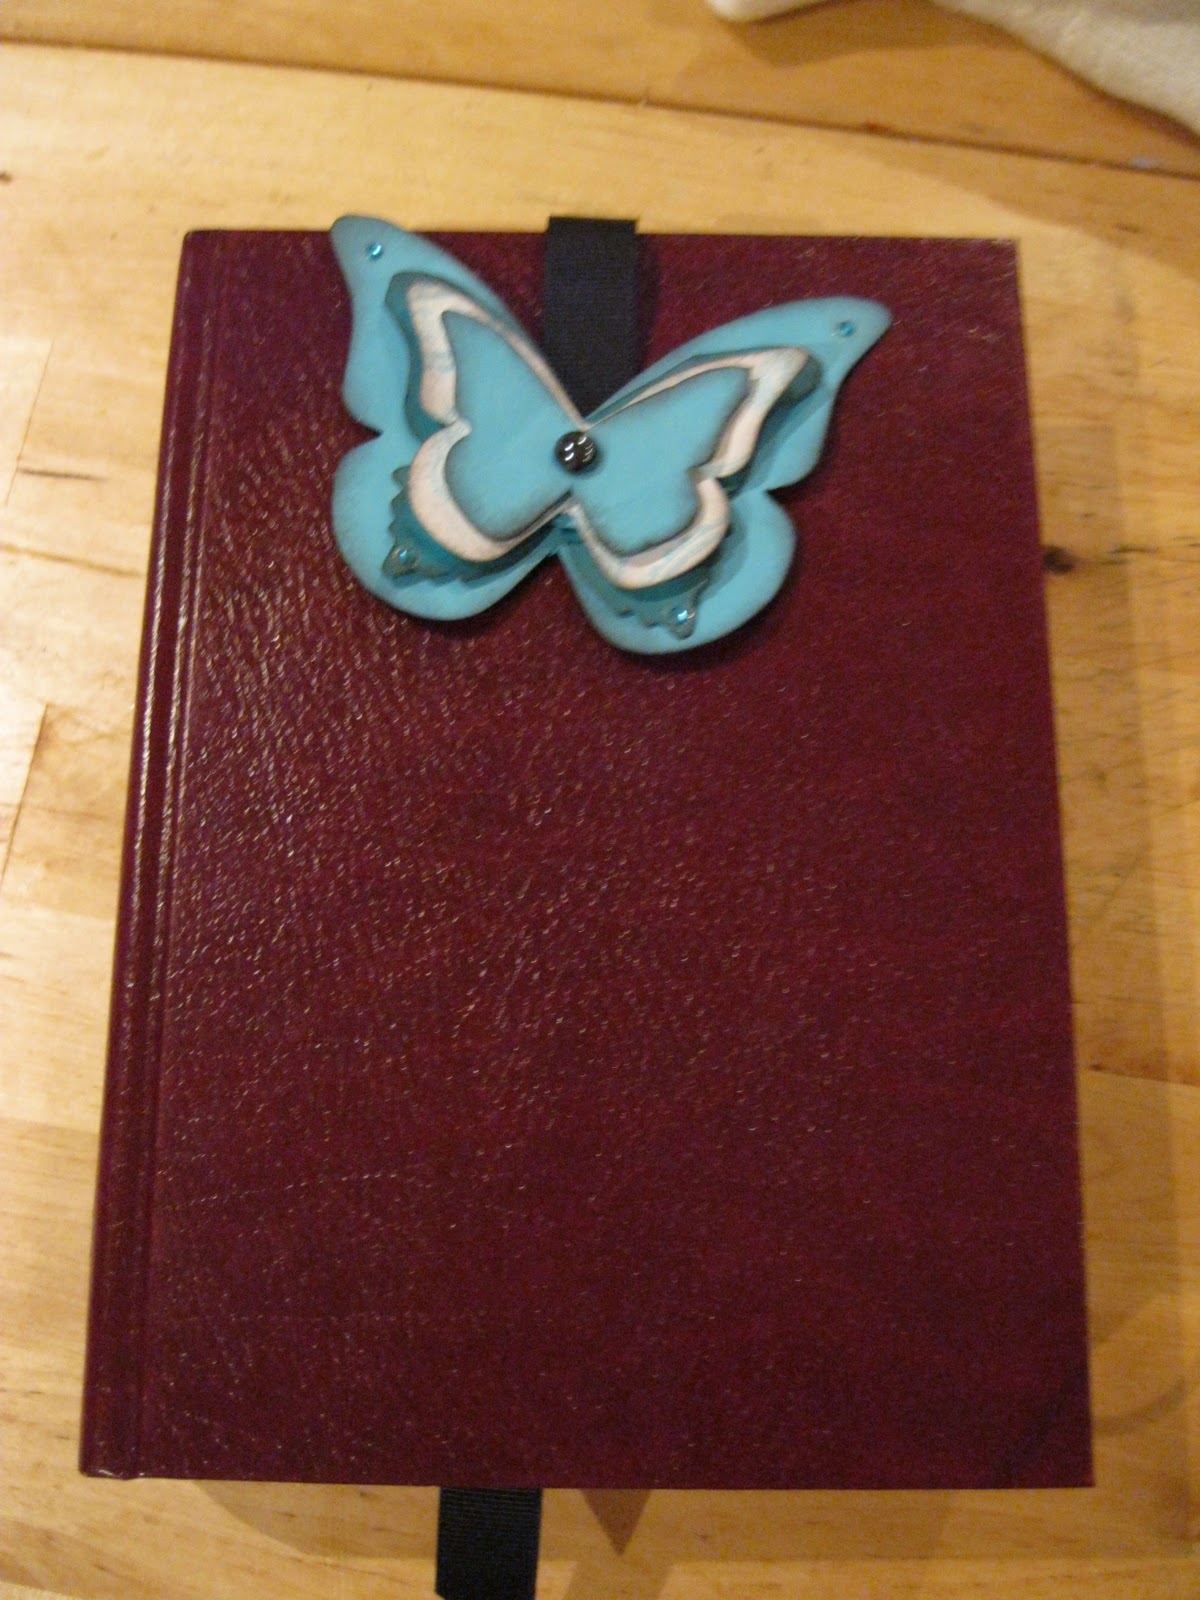
Ribbon Bookmark

These little bookmarks are soooo cute! They are cut from Bigz dies on the Big Shot, and although mine are paper, if you like to sew, you could also cut them out of fabric and stitch them all together, and I think it would be nice too. I do like the sponging effects and dimensionality of the paper ones though (they have spacers between the layers). Soooo cute. Quick and easy gift for sure!


Wednesday, March 16, 2011

How To: 3x3 envelope

How do you make a matching, super cute envelope to go with your card?

One thing you need to know about me - I *love* 3x3 cards. They are my faves!! They are just so cute! So to go with those sweet little cards, here's a sweet envelope!

Start with sacrificing one of your Stampin' Up 3x3 envelopes, by carefully taking it apart (To fit that size card, it measures a little bigger than 3x3, really). Keep this as your template.
Hold the template to your designer paper and cut out. No need to trace it, it's so simple! Use some Dotto removable adhesive if you want to/need to
(This is the other side of that same paper). Use a bone folder, or your scoring blade, and score lines from corner to corner on each side
Fold and adhere. Isn't it cute?!
All of Stampin' Up's Designer Paper is double sided. Which would be perfect for the hand delivered card/gift, but could be a little much to put through the mail, depending on the pattern. You can always use your non-SU designer paper to make one with a white side, and fold it white side out.
non SU designer paper envelope
The outside is white for mailing. A little more tame, but still really special and pretty when opened up!

Sunday, March 13, 2011

Simple Top Note

I am totally digging this color combo...black, white and crumb cake!

This card I wanted to make like a patchwork quilt of sorts, with the top notes die. I am pretty happy with the results. The detail on the black squares is heat embossed, black on black for a textured feel. Pretty cool! The cherries are a stamp set, I drew free-hand the stripes and dots with my Versa-marker. Love that thing so much! Simple and clean to look at, which I like, and a fairly easy degree of difficulty, providing you know how to heat emboss. If you don't, I really need to teach you, it's one of my fave techniques!!
Click on pic to see the heat embossed detail better!