Sunday, March 13, 2011

Gift set

If you know me, you know I like simple, cute, and 3x3 cards! This is a combination of all three. In LOVE!

This is a little gift set of cards and envelopes. They all fit in this little pizza style box, complete with cute belly band. Perfect stocking stuffer for female relatives, teacher gift for school and church, small little birthday gift add-on...pretty much any occasion will be made so much sweeter with these little guys around!
Here's the box opened, full of cards!
Sorry, forgot to rotate the pic. Still works though right?!
Used: Button, Flocking, Crystal Effects with re-inker, Blender pens, Ribbon, Glitter, Colored sticky gem
All the cards inside. They are all heat embossed with black powder, and then one different color or feature is brought out on each card. Super cute!
I think you can tell pretty easily which is which here...Belly band says "Purrrfect!"
"Happy bird-day!", "Get whale soon!", "Love you a latte!", "Hip-hippo-ray!", "I stink you're sweet!", "Thank ewe!"
Closer up view

Friday, March 11, 2011

How To: Tri-fold card

You will need punches: Large circle scallop, small circle scallop, medium oval & small oval. I used the stamp sets Polka Dot Punches and Fundamental Phrases with Basic Black ink.
The gray punch is the new punch style by Stampin' Up. It "closes" to help with storage.
You will need paper: Designer Paper 4x12 (double sided print). Basic Black 4 1/4x 4 1/4, and 3 1/2 x 3 1/4. Very Vanilla 3 x 3 1/4
Score the designer paper at 4" from each end
Use a bone folder to fold up the sides into a triangle, like this:
Adhere the flaps down with adhesive, so they can't open anymore.
Along the bottom edge, put just one strip of adhesive, to hold the triangle flap down, and to create a pocket to hold the note card
Use a wedge of a Stampin' Sponge to sponge the edges. Sponging gives a warmer depth to your projects, making them look more professional. To make the edges of my "book" paper look tea-stained, I used Creamy Caramel.
Always use a scrap paper underneath when you sponge. Start off the paper, and work in a circular motion onto the Designer Paper. This will keep the ink light
Also sponge the edges of the inside Very Vanilla piece
Adhere the black pieces to the paper. The smaller one to the sponged note card, and the larger one to the back of the designer paper.
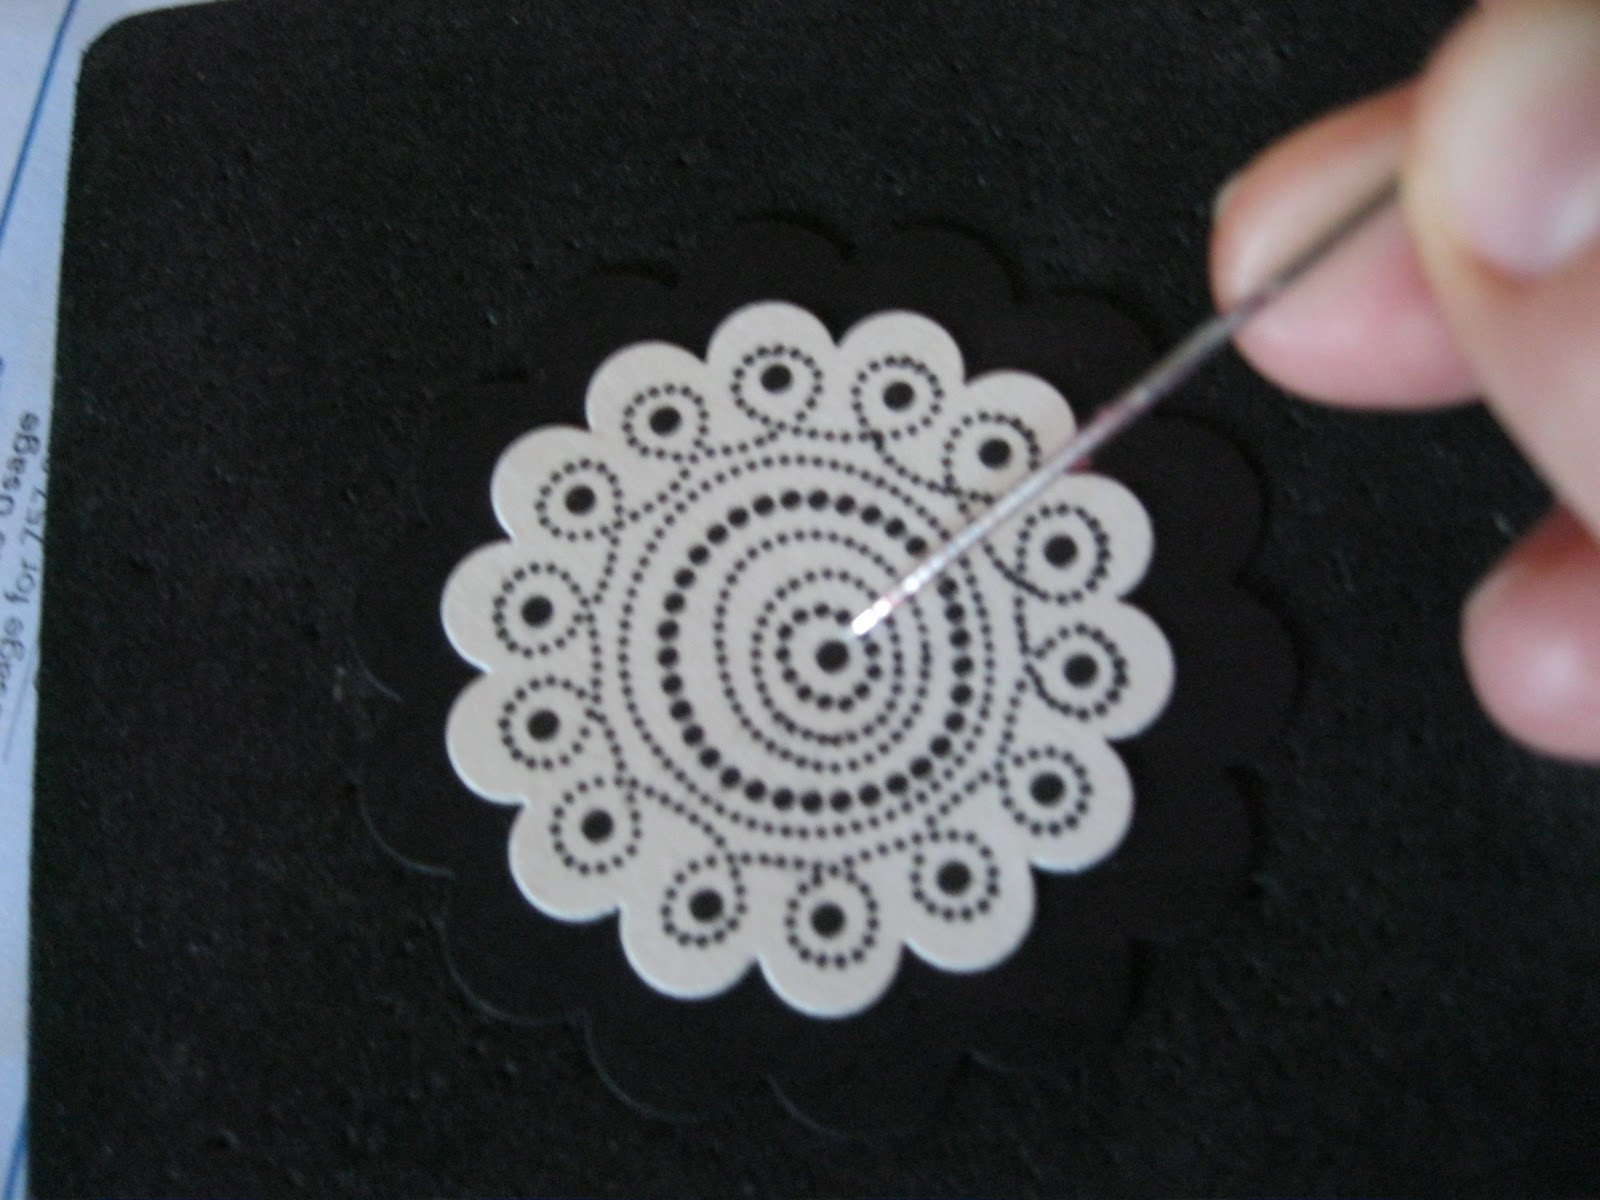
Adhere all your punched pieces together, and use your piercing tool and mat to make a hole in the center of the scallops for a Hodgepodge Hardware brad.
Use Stampin' Dimensionals on only half of the scallop circle...you want to be able to open the card!
Position and stick down your punched shaped. The "For You" is adhered with regular adhesive, the scallop circle with dimensionals (this is only because the back of the brad will not allow it to lay flat - if you are not using a brad in your design, you can adhere it normally ie: flat)
All done!! The only difference between the one I made yesterday, and this one, is the color of the brad in the center of the scallop circle. One is silver, one is very vanilla. And of course, the nature of the designer paper I chose makes them a little unique too...different sections of the "book pages". Love it!
Adorable and VERY quick and easy to do! Have fun!! - The inside is perfect for holding money, a gift card, or a picture!

Thursday, March 10, 2011

Another Tri-fold

This one is really easy to make! I used a new paper I've been itching to use. It looks like old pages from a book. I antiqued it a little with Creamy Caramel ink...gives it a tea stained look. So cute!
The great thing about this card...it can hold money, a gift card, or a picture, etc.
Pull the card portion out to write on it. 
Love this!!

Heart to Heart

Now isn't this just the cutest ever? It's made with the full heart punch (by Stampin' Up), and you just need 4 of them! The brides dress is embossed with the small polka dots (Big Shot), and everything is sprayed with the Champagne Mist ink paint (SU), mixed with rubbing alcohol. And then some of that paint rubbed on to the lapels of the tux for a more intense shine. This is SO stinkin' cute!!

Sunday, March 6, 2011

Never Ending Card - Video

Here is a little clip of how the never ending card works. It's a little hard to do with only one hand, so it's a little slow going opening it, however, this is a really cool card & concept! Enjoy!

The front of the card. It is the size of a regular handmade card (4 1/4x 5 1/2)

3x3 Purse

Gorgeous, simple 3x3 cards. Heat embossed in silver with a simple design, with a little "purse" card holder. This little set would be a really easy, really cute, stocking stuffer, teacher gift, etc.
Crushed Concord, Tempting Turquoise, Regal Rose, Pumpkin Pie and Wild Wasabi, embossed with silver


The centers are popped up on dimensionals

The card holder! Adorable!

Here are all the cards inside!

Saturday, February 19, 2011

Tea Time!

Look at this adorable little tea holder. Wouldn't this be a great gift for the tea lover in your life? I made this one for ME, and I picked the colors based on what would match my kitchen, since it will be out on the counter!

It's holding Earl Grey tea right now, one of my faves. It currently has 20 tea bags in it (a whole box), but could hold more!

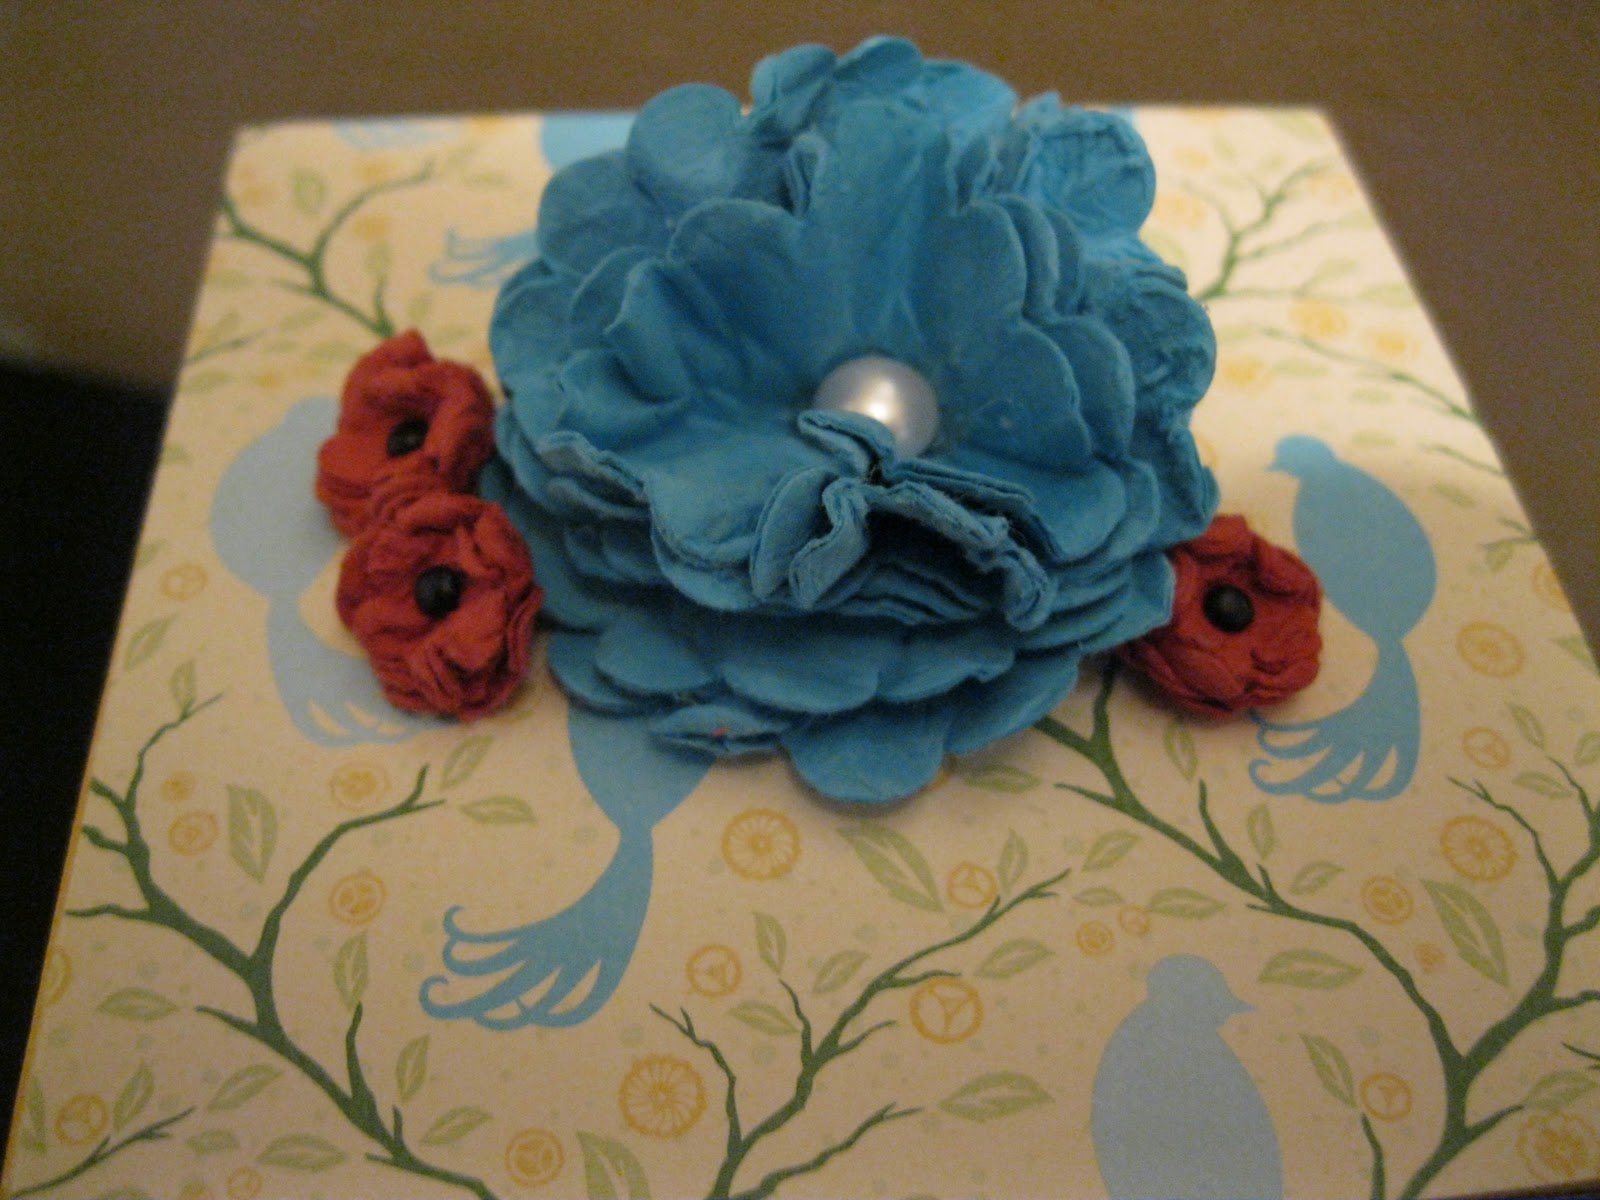
Some little rosettes I made to decorate the top a little

I'm a little tea pot

Side view. Sooo cute!!!